2. After you have selected/created your image, you will need to upload your image to a video and image hosting site. There are many different free video and image hosting sites, and it doesn't matter which one you use. Personally I like to use Photobucket.
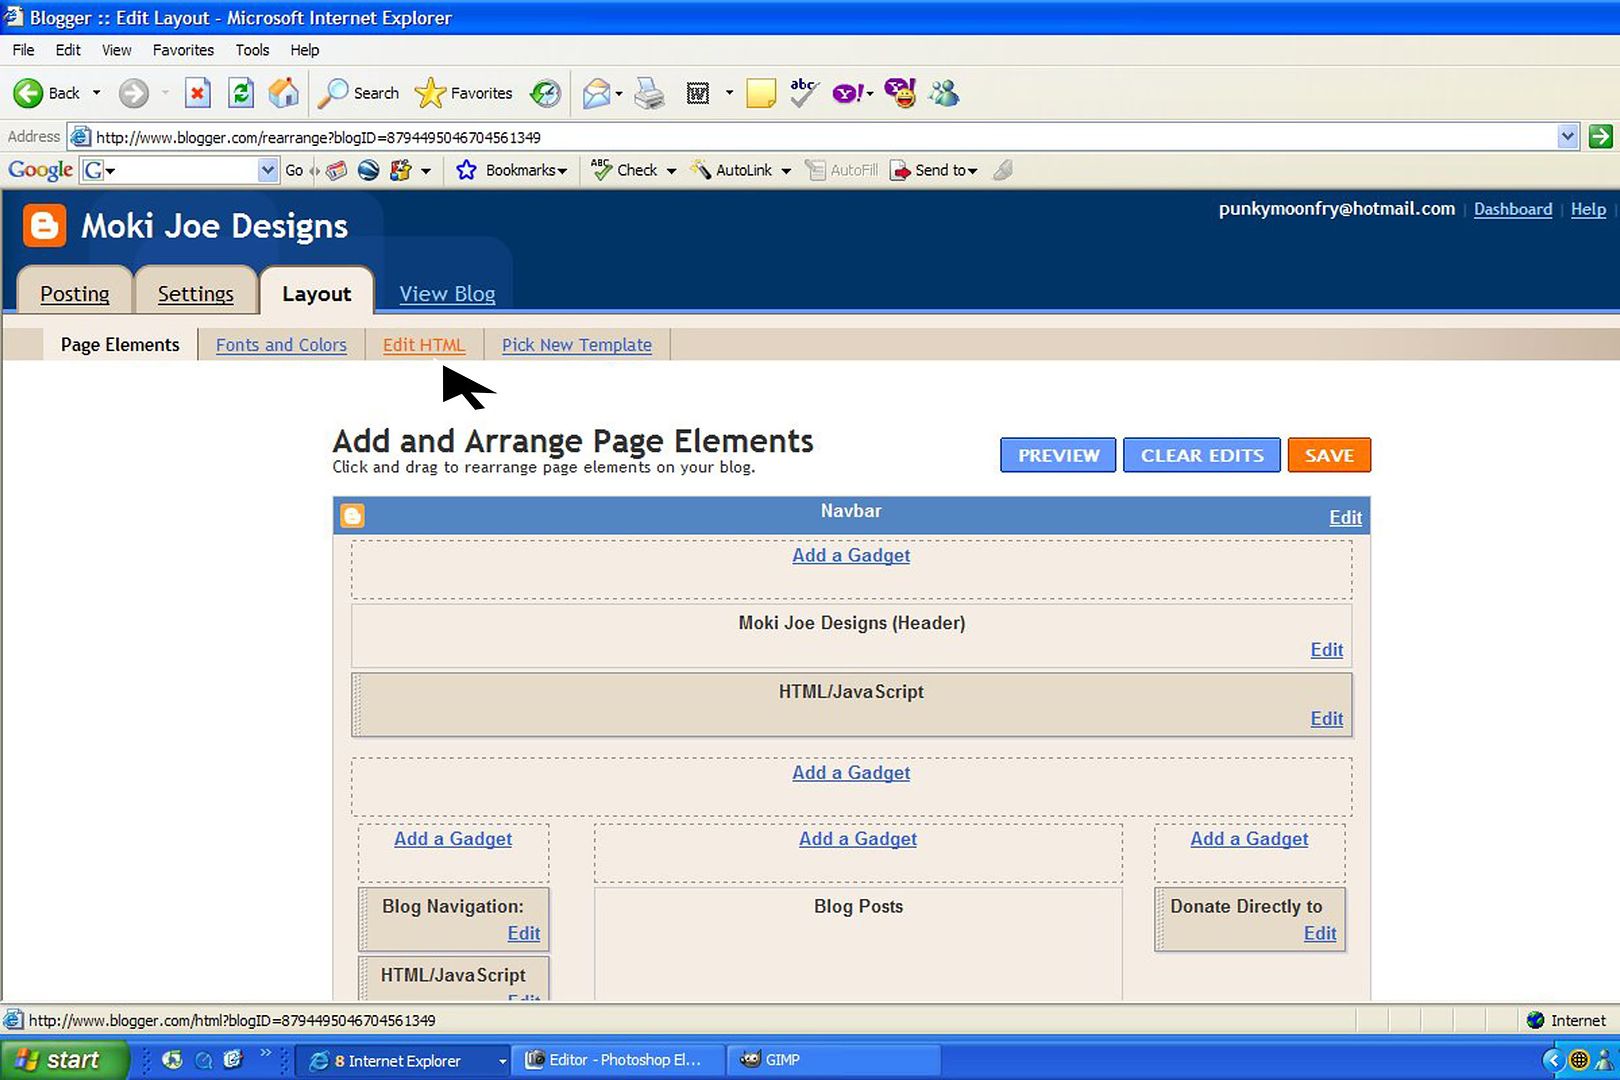
3. Once you have your image uploaded to an image hosting site, then you are ready to begin. Start by logging into your blogger account. You will want to access your dashboard, so that you can see the "Layout" section of your blog as shown below:
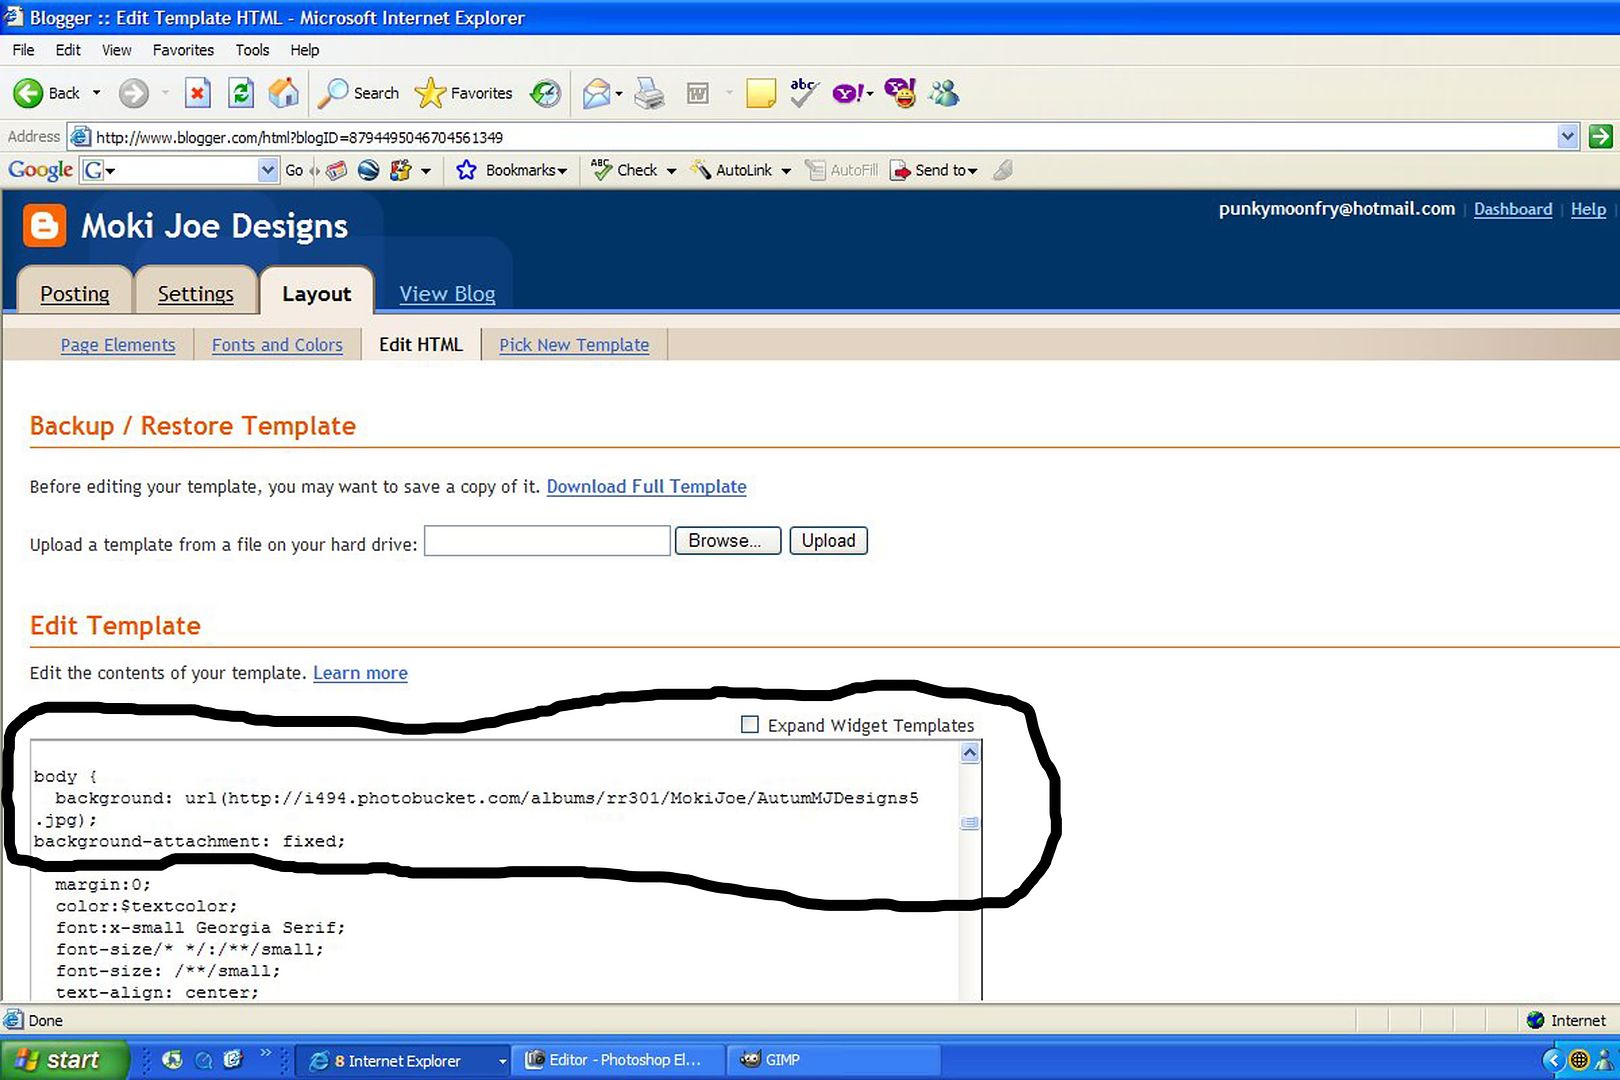
Once your template has been saved, then the fun part begins! Scroll down to just below the "Edit Template," to access your blogger CSS and HTML code. You are going to want to find the portion of your code that says "Body" as shown in the above picture. Once you have located this portion of your code, the you are going to want to add the following:
body { background: url(Insert the URL of your image which has been provided to you from your video and photo hosting site here);background-attachment: fixed;
Your code should now look exactly like the code shown in the above photo with the exception of the change in URL's.
5. Once you have changed your bloggers coding then you are ready to preview your new template. To do this, simply click on the "preview," button located at the bottom of the page, as shown in the picture below.

If you like what you see then simply click "Save Template," and your done! If you don't like your changes simply click any other command button located at the top of the screen, i.e., "Posting," "Setting," to get out of this window. Be sure not to save your changes if you are unhappy with the new look of your blog. If worse comes to worse and you dont like the new look of your blog, and you accidently hit the "save changes," button, well, simply reload the original template we saved early on!
Now go have some fun creating stylish new blogger backgrounds!
11 comments:
You have a wonderful blog with so much wonderful information. You explained how to do a background on a blog so clearly. I will have to book mark you.
Great explanation! One little thing - the one block of red text is really hard to read against the background.
I thought it would be much more difficult to change the background... maybe Victor will trust me to play around with the blog ;-)
TQ 4 ur information....i really happy 4 this info....
it didn't work for me, it keeps showing my background plan and white, and not allowing me to make it black in any form. - do you know why this may be?
it wont change for me either it just stays the same white colour i wanted a photo and followed your steps.. not working??? and ideas?
Cheers mate. Simply easy steps, and with the printscreen instructions couldn't have been easier !
Much appreciated
i thought this break down was so simple and amazing. until i tried it. like 80 times. it doesnt work! i tried revising. playin around. nothing works. help!
Was an AWESOME help man, thanks!
:)
doesnt happen to me !
Thanks this helped alot it would help if people could visit my blog since I don't know any other way of getting more pageviews please visit slendermaninfo.blogspot.co.uk
thanks in advance
Post a Comment